Success in aurora chasing isn’t luck; it’s a science of mastering overlooked variables beyond the basic KP index.
- True aurora intensity is predicted by the southward Bz component of the solar wind and its speed, not just the slow-moving, global KP index.
- Protecting expensive camera gear from condensation damage in extreme cold requires a strict, multi-stage acclimatization protocol.
Recommendation: Plan a non-negotiable 3-day travel buffer for any trip to the Territories to mitigate the high risk of weather-related flight cancellations.
The dream of seeing the aurora borealis is universal: a silent, otherworldly dance of green and purple light across a frozen, starry sky. For photographers and night sky enthusiasts, this dream fuels expeditions to the far North. Most advice centres on familiar refrains: check the KP index, get away from city lights, and dress warmly. While true, these tips are merely the entry ticket. They don’t account for the operational realities and hidden scientific variables that separate a disappointing trip from a breathtaking success.
The real craft of aurora chasing lies in the details the tourist guides omit. It’s about understanding the space weather data that truly matters, adopting a photographer’s discipline for protecting gear in -30°C, and embracing a strategist’s mindset for navigating the logistical challenges of Canada’s remote North. This isn’t just about looking up at the right time; it’s a mission that requires planning, precision, and a deep respect for the environment you’re entering.
This guide moves beyond the basics. We will deconstruct the science of aurora prediction, compare Canada’s top viewing locations with hard data, and provide tactical protocols for photography in extreme conditions. Forget luck; we’re focusing on a repeatable methodology to dramatically increase your chances of capturing the celestial display you came for.
To help you navigate this tactical approach, this article is structured to build your expertise from forecasting to fieldwork. Below is a summary of the key areas we will cover to transform your aurora hunt into a successful expedition.
Summary: A Tactical Guide to Seeing the Northern Lights in Canada
- How to read KP index forecasts for accurate viewing predictions?
- Yellowknife vs. Whitehorse: which has clearer skies statistically?
- Camera freezing: avoiding condensation damage on lenses when coming indoors
- Why light pollution guidelines are strict in dark sky preserves?
- Adjusting ISO settings for vibrant green captures without grain
- How to protect camera batteries in -30°C temperatures during a shoot?
- Getting stranded by weather: the 3-day buffer rule you must respect
- Traveling to Northern Territories: Managing High Costs and Limited Flights
How to read KP index forecasts for accurate viewing predictions?
The first tool every aspiring aurora chaser discovers is the KP index, a scale from 0 to 9 measuring global geomagnetic activity. While a high KP number (5 or above) is exciting, relying on it alone is a classic rookie mistake. The KP index is a planetary average calculated over three-hour intervals. However, the most spectacular, fast-moving auroral displays are often part of a localized event called an auroral substorm. In fact, research shows the most intense aurora phase lasts only 10 minutes, a burst of activity far too brief for the slow-moving KP index to accurately represent in real-time.
To move from amateur to strategist, you must monitor the live data that signals an imminent substorm. The two most critical metrics are:
- The Bz Component: This is part of the interplanetary magnetic field (IMF). Think of a southward-pointing Bz as the “on switch” for the aurora. When Bz tips and holds south (a negative value, ideally below -5 nT), it allows solar wind energy to pour into Earth’s magnetosphere, fueling intense displays.
- Solar Wind Speed (Vsw): The speed of the particles hitting our atmosphere matters. A high speed (above 400 km/s) acts as an accelerant, making the lights brighter and more dynamic, even with a moderate KP.
For chasers in Canada, it’s essential to use location-specific tools. Instead of relying on global forecasts, turn to resources like the regional magnetic forecasts from Natural Resources Canada. These models show where the auroral oval is strongest over North America, giving you a much more precise operational picture than a single, global KP number ever could. Cross-referencing data from multiple sources, like the NOAA SWPC and local magnetometer readings, is the hallmark of a serious chaser.
Yellowknife vs. Whitehorse: which has clearer skies statistically?
Canada’s north offers two primary hubs for aurora chasers: Yellowknife in the Northwest Territories and Whitehorse in the Yukon. While both provide incredible opportunities, they offer distinctly different experiences based on geography and climate. Your choice between them should be a strategic one based on your priorities.
Yellowknife, NWT, is arguably the aurora capital of the world for one simple reason: its location. Situated directly beneath the auroral oval at 62.45°N, it boasts an incredible frequency of sightings. The city experiences aurora activity on approximately 240 nights per year, and tour operators confidently state that visitors staying for three nights during peak season have a greater than 95% success rate in witnessing a display. The landscape is defined by its “Big Sky” feel, with vast, frozen lakes like Great Slave Lake providing unobstructed, panoramic views of the entire sky.
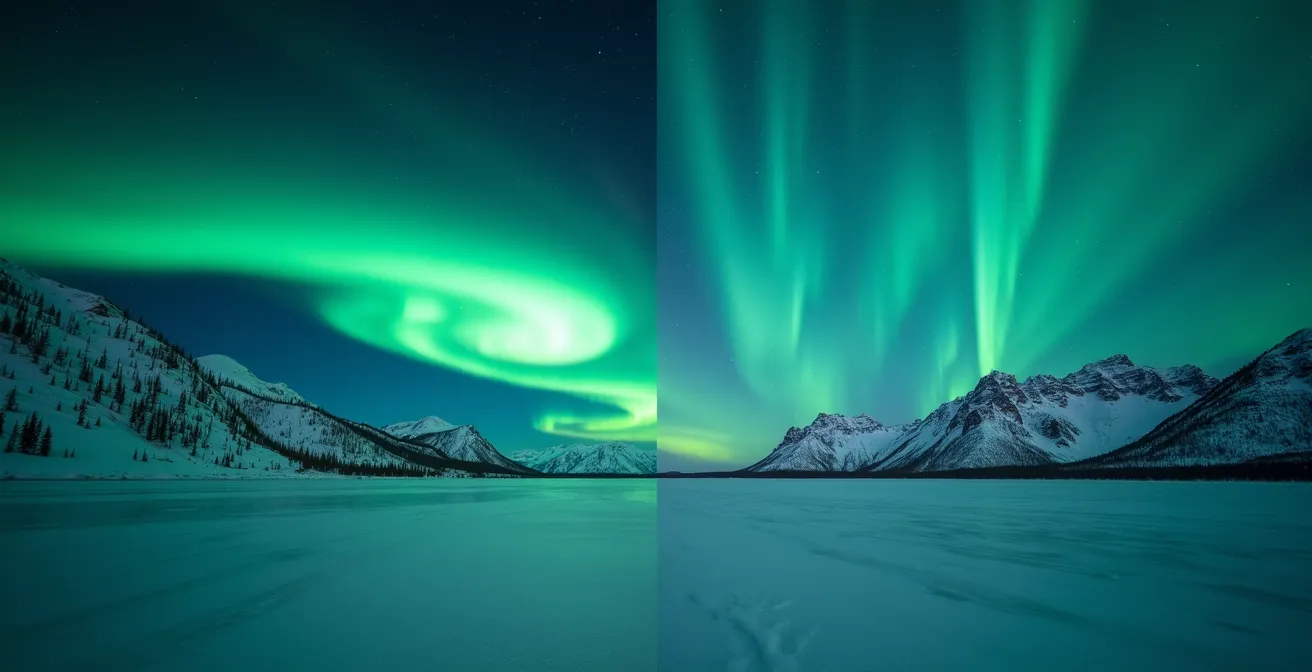
Whitehorse, Yukon, offers a different aesthetic. Positioned slightly south of the optimal auroral zone, the frequency is still high but statistically lower than Yellowknife. The major draw here is the dramatic landscape. The surrounding mountain ranges provide a stunning foreground, allowing for powerful compositions with the aurora framed by majestic peaks. The following table breaks down the key statistical and experiential differences.
| Factor | Yellowknife | Whitehorse |
|---|---|---|
| Aurora Frequency | 240 nights/year average | 200-220 nights/year |
| Geographic Position | Directly under auroral oval | Slightly south of optimal zone |
| Peak Viewing Hours | 10 PM – 2 AM | 9 PM – 1 AM (winter) |
| Viewing Experience | Big Sky over frozen lakes | Mountain backdrop compositions |
| Ice Fog Issues | Common in extreme cold | Less frequent |
Camera freezing: avoiding condensation damage on lenses when coming indoors
The single most destructive mistake a photographer can make in the arctic is bringing a frozen camera directly into a warm room. The extreme temperature shift from -30°C outside to +20°C indoors causes instant, catastrophic condensation. Moisture forms not just on the lens surface, but deep inside the lens elements and within the camera’s delicate electronics. This can lead to fungus growth, electronic failure, and permanent damage costing thousands of dollars.
Protecting your gear requires a strict, non-negotiable equipment acclimatization protocol. This isn’t just a casual tip; it’s a professional discipline. The goal is to allow your gear to warm up slowly in a controlled environment, preventing moisture from ever forming on it. The most effective method is the 3-Step Protection Protocol.
- The “Airlock” Ziploc Technique: Before you even think about going inside, place your entire camera, with the lens attached, into a large, airtight Ziploc bag. Squeeze out as much air as possible and seal it tightly. When you bring this bag into a warm space, the condensation will form on the cold *exterior* of the bag, while the camera inside remains dry as it slowly warms to room temperature. Do not open the bag for at least 2-3 hours.
- Staged Acclimatization: Use an unheated space as an intermediary “cold soak” zone. The trunk of your car, a cold porch, or a garage is perfect. Leaving your gear here for 30-60 minutes before bringing it into the main heated area reduces the thermal shock and the severity of condensation.
- Silica Gel Defense: Proactively manage moisture inside your camera bag. Pack several large silica gel desiccant packets in your bag. These will absorb any ambient moisture that gets in during quick lens changes in the field, providing an extra layer of defense against internal fogging.
Why light pollution guidelines are strict in dark sky preserves?
The advice to “get away from city lights” is obvious, but Canada’s Dark Sky Preserves (DSPs) take this concept to a scientific level. These designated areas, such as the world’s largest at Wood Buffalo National Park and the popular Jasper National Park, enforce strict protocols that go far beyond just being “dark.” The rules are in place not only to enhance the astronomical viewing experience but also to protect the fragile nocturnal ecosystem.
For aurora chasers, the benefits are clear. Strict rules, such as red-light-only policies after a certain hour and carefully shielded outdoor lighting, serve one primary purpose: to preserve your eyes’ dark adaptation. It takes the human eye up to 30 minutes to fully adapt to darkness, allowing you to see faint details in the night sky, including the subtle colours and structures of the aurora. A single flash of white light from a phone screen or a car’s headlight can instantly reset this process, effectively blinding you to the fainter parts of the display. The DSP protocols create an environment where everyone’s night vision is protected.
However, the guidelines have a crucial dual purpose. These same lighting controls are essential for the health of nocturnal wildlife. Artificial sky glow disorients migrating birds, and bright lights can disrupt the hunting patterns of predators like owls. By managing light pollution, DSPs demonstrate how responsible astronomy and ecological conservation intersect. The rules protect both your view of the stars and the caribou’s ability to navigate by them.
Your Action Plan: Finding Your Own Dark Sky Spot
- Map the Darkness: Download a light pollution map app (e.g., Light Pollution Map) to identify pockets of darkness within a 50km radius of your base. Aim for areas rated as Bortle Scale 3 or lower for optimal aurora viewing.
- Scout the Terrain: Use daytime hours to scout potential locations. Look for safe parking spots with a clear, unobstructed view to the north. Use natural terrain like hills or a line of trees to block the light dome from any distant towns.
- Measure the Distance: As a general rule, drive at least 30-40 kilometers from any significant town or city center to escape the worst of its sky glow.
- Check for Safety: Ensure your chosen spot is on public land or a designated viewpoint. Verify cell service availability and inform someone of your location and expected return time.
- Prioritize the North: Your primary goal is a clear northern horizon. While an aurora can fill the whole sky, the show often starts low on the northern horizon.
Adjusting ISO settings for vibrant green captures without grain
A common misconception in aurora photography is to simply crank the ISO to its highest setting to capture more light. While a high ISO is necessary, treating it as the primary tool is a recipe for noisy, grainy images with washed-out colours. Modern full-frame cameras handle high ISOs (3200-6400) remarkably well, but the key to a clean, vibrant shot lies in optimizing the entire exposure triangle with a clear order of operations.
Think of your settings as a priority list for gathering light:
- Priority 1: Aperture. This is your main light-gathering tool. Set your lens to its widest possible aperture (e.g., f/1.8, f/2.8). This should be the first setting you lock in and it should rarely change.
- Priority 2: Shutter Speed. Your shutter speed choice depends on the aurora’s movement. For fast-moving, “dancing” lights, a shorter shutter speed of 5-8 seconds will freeze the detail in the curtains. For slow, broad arcs, a longer exposure of 10-15 seconds will work well.
- Priority 3: ISO. Only *after* setting your aperture and shutter speed should you adjust the ISO. It’s the final variable used to achieve the correct exposure. Start at ISO 1600 and adjust upwards as needed until your histogram shows a good exposure without clipping the highlights.
Beyond the exposure triangle, two professional techniques are critical for colour and quality. First, use the “Expose to the Right” (ETTR) technique. This involves slightly overexposing the image in-camera without blowing out the brightest parts of the aurora, then reducing the exposure in post-production. This method captures significantly more light information in the shadows, resulting in a much cleaner, less noisy final image. Second, nail your white balance. As noted by aurora photography specialists, cameras on auto white balance often interpret the bright aurora as white, producing a sickly, washed-out green. To capture the authentic, vibrant emerald hues, set a custom white balance between 3800K and 4500K.
How to protect camera batteries in -30°C temperatures during a shoot?
In the extreme cold of a northern Canadian winter, lithium-ion batteries are the first thing to fail. The cold dramatically slows the chemical reaction inside the battery, causing its voltage to drop precipitously. A fully charged battery can appear dead after just minutes of exposure to -30°C temperatures. For a photographer, a dead battery means a missed shot, so an active battery management system is not optional—it’s essential for a successful shoot.
The most effective strategy is the Body Heat Battery Rotation System. This simple but crucial process uses your own body heat to keep your power source alive. Here’s how it works:
- Carry a Warm Stash: Always carry at least three to four spare batteries. Keep them in an insulated pouch or a simple sock inside the innermost pocket of your jacket, close to your chest, where they stay warm.
- Rotate Frequently: The battery in your camera is constantly exposed to the cold. You must proactively swap it with a warm battery from your jacket every 30-45 minutes, even before it shows signs of dying. Place the cold battery back into your warm inner pocket.
- The “Zombie” Battery Rule: Remember that a cold battery isn’t empty, it’s just dormant. As tour operator Joe Bailey from North Star Adventures explains, this is a critical piece of field knowledge.
In -35°C Yellowknife winters, I’ve seen cameras die in minutes. The body heat rotation saved countless shoots. A battery showing empty at -30°C often springs back to 40% capacity once warmed. I tell clients to treat spare batteries like hand warmers – keep them close to your body at all times.
– Joe Bailey, North Star Adventures
This “zombie” battery, once warmed for 20-30 minutes, can provide a crucial backup for a few more shots at the end of a long night. For those undertaking extended shoots, using a battery grip to hold two batteries at once can double your runtime and reduce the frequency of swaps in the biting cold.
Getting stranded by weather: the 3-day buffer rule you must respect
When planning a trip to Canada’s Northern Territories, the most overlooked and potentially costly variable is the weather’s impact on travel. Major airports like Yellowknife (YZF) and Whitehorse (YXY) are serviced by a limited number of flights and are highly susceptible to winter weather disruptions. Blizzards, freezing rain, or extreme cold can shut down a single-runway airport for days, creating a cascade of cancellations.
This isn’t a rare occurrence; it’s a predictable operational reality of the North. This reality gives rise to the single most important travel planning tip: the 3-Day Buffer Rule. This means you should always plan for your return flight to be at least three days after your last planned aurora viewing night, and three days before any critical international connection. This buffer is not a luxury; it’s a financial and logistical insurance policy.
Consider the real-world example of a severe blizzard that shut down Yellowknife’s airport for 36 hours in March 2024. As aurora tour operators reported, over 400 tourists were stranded. With only two primary airlines servicing the route, the backlog created a four-day delay for many to get rebooked. Travelers who had built in a 3-day buffer were stressed but ultimately made their new flights. Those with tight schedules missed international connections, costing them thousands in last-minute flights and lost vacation time. Similar situations occur multiple times every winter.
Key Takeaways
- Prioritize real-time space weather data like southward Bz and solar wind speed over the slower, less precise KP index for accurate aurora forecasting.
- Implement a strict, multi-stage camera acclimatization protocol using sealed bags and staged warming to prevent catastrophic condensation damage in extreme cold.
- Incorporate a non-negotiable 3-day travel buffer into your schedule to mitigate the high and predictable risk of weather-related flight cancellations in the North.
Traveling to Northern Territories: Managing High Costs and Limited Flights
A trip to the Canadian North is an investment. Flights are expensive, accommodation is limited, and tour prices reflect the specialized nature of operating in a remote environment. However, strategic planning can help manage these costs and even enhance the value of your trip. The first area to optimize is air travel and baggage.
While major carriers like Air Canada fly to the North, it’s crucial to compare them with regional airlines like Canadian North and Air North. These local carriers often have more generous baggage policies, which is a significant factor for photographers hauling heavy tripods, multiple lenses, and bulky winter gear. An “oversized” bag that might incur hundreds of dollars in fees on a major airline may be included in the standard fare on a northern carrier.
The table below highlights key differences to consider when booking your flights.
| Factor | Air North/Canadian North | Air Canada |
|---|---|---|
| Baggage Allowance | 2x32kg bags included | 1x23kg (extra fees apply) |
| Winter Gear Policy | Oversized accepted free | Extra charges likely |
| Schedule Flexibility | Better rebooking options | Limited northern routes |
| Points Programs | Limited partnerships | Aeroplan extensive network |
| Local Knowledge | Staff understand aurora tourism | Generic service |
Beyond flights, the biggest shift in mindset is moving from “cost” to “value.” For example, Indigenous-owned tour operators like North Star Adventures offer a compelling value proposition. As highlighted by guides like Joe Bailey, these tours often provide access to exclusive traditional lands far from crowded public viewing areas. The experience is enriched with cultural immersion, including traditional stories and bushcraft skills. Furthermore, considering the shoulder season of late August and September with an Indigenous guide can reduce costs by up to 40% compared to peak winter, while offering unique advantages like aurora reflections on open water and a bug-free environment.
Ultimately, a successful aurora expedition is a masterclass in strategic planning. By moving beyond generic advice and embracing the tactical details of forecasting, gear protection, and logistical management, you transform your trip from a game of chance into a well-executed mission. Start planning your Canadian aurora adventure today by applying these principles to build a robust and resilient itinerary.